
Mini Hardware Build Log
I bought all the components of this computer with the help of PCPartPicker:
PCPartPicker part list
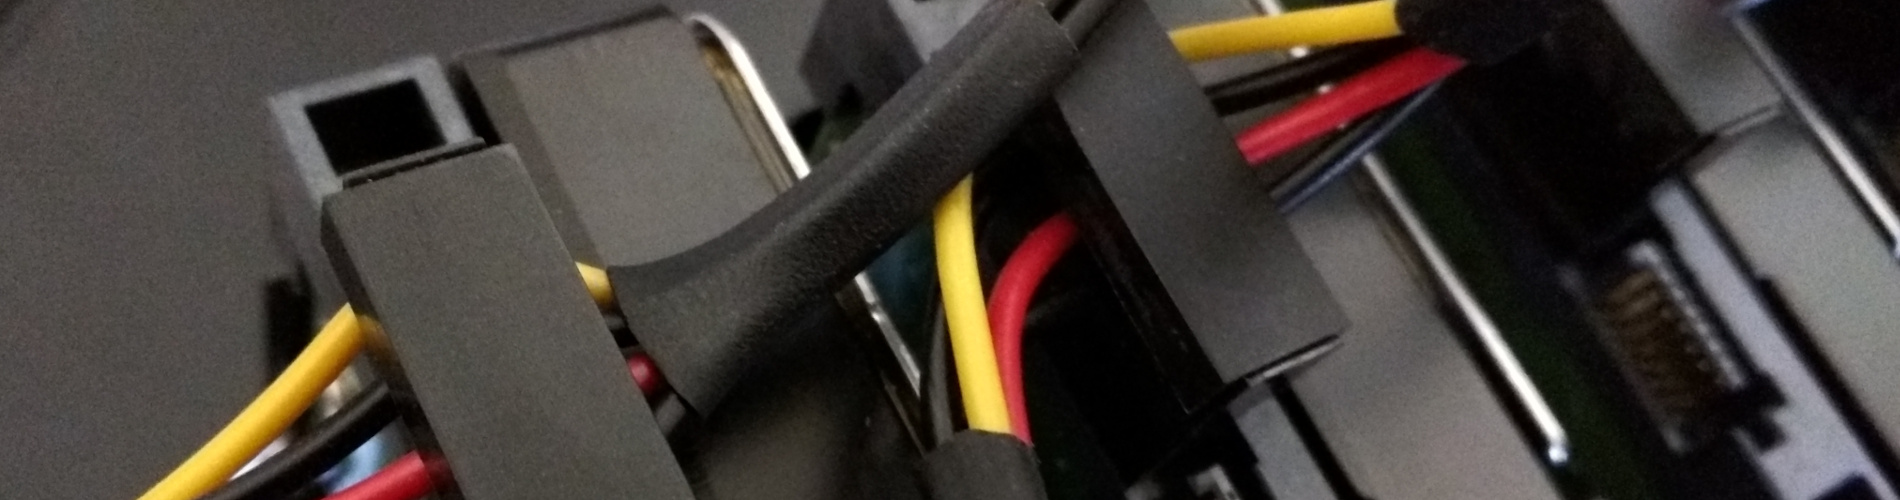
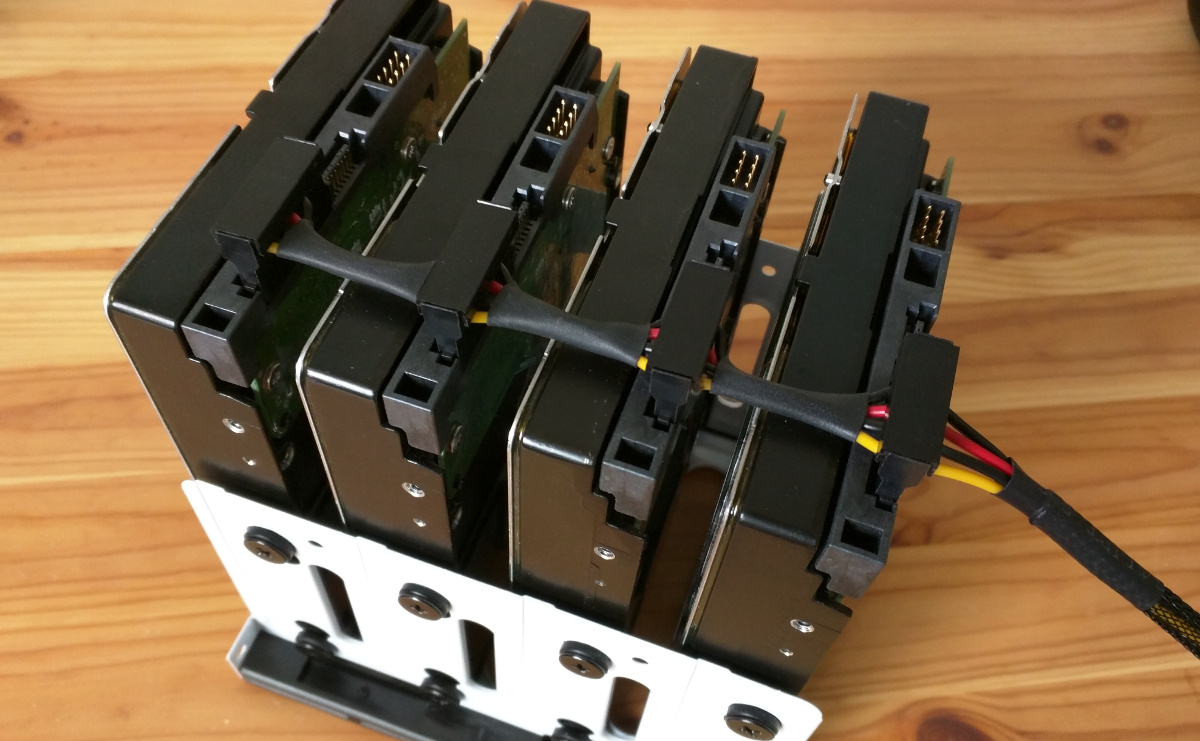
The obsessive compulsive engineer in me wanted to cut cables to length. Cutting down the power cable for the hard drives was pretty painless. Take apart any molex to SATA power cable with just a flat head screwdriver and wire cutters. I didn't even need to strip the cables myself. Once the power connectors were liberated from the wires, I inserted them into the hard drives. Paying careful attention to route the wires in the correct order, it was simple enough to just push each wire into the self stripping terminals.
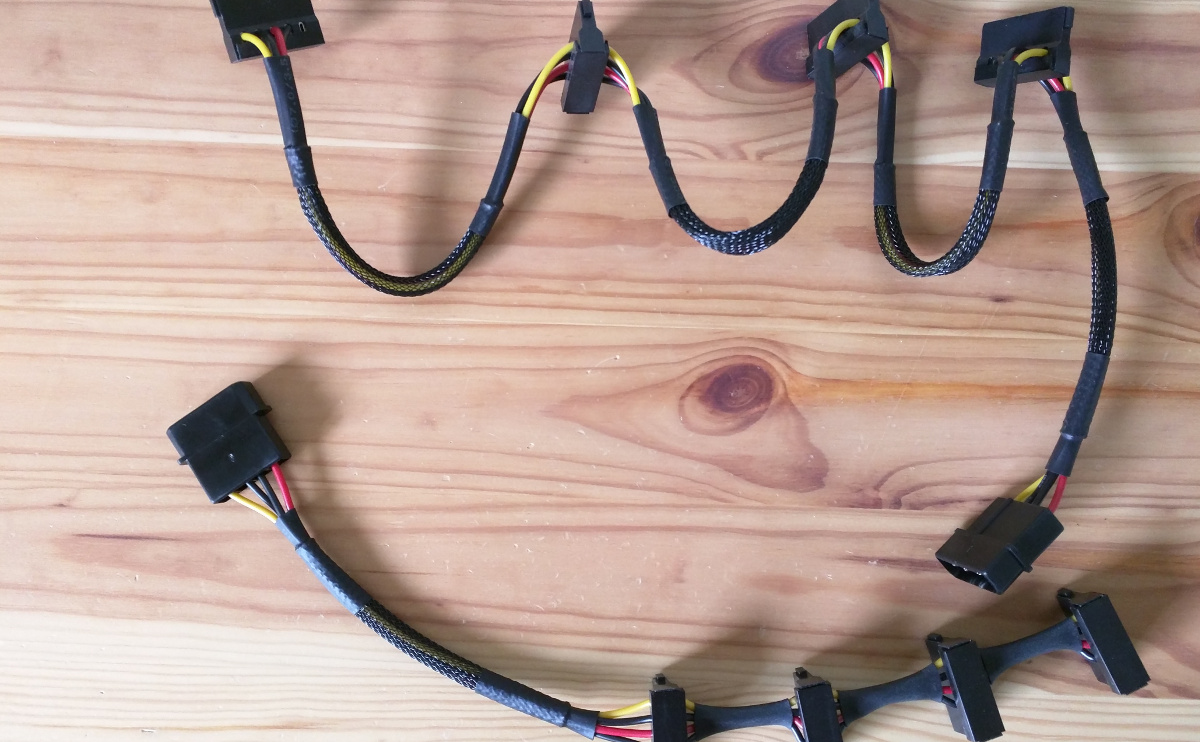
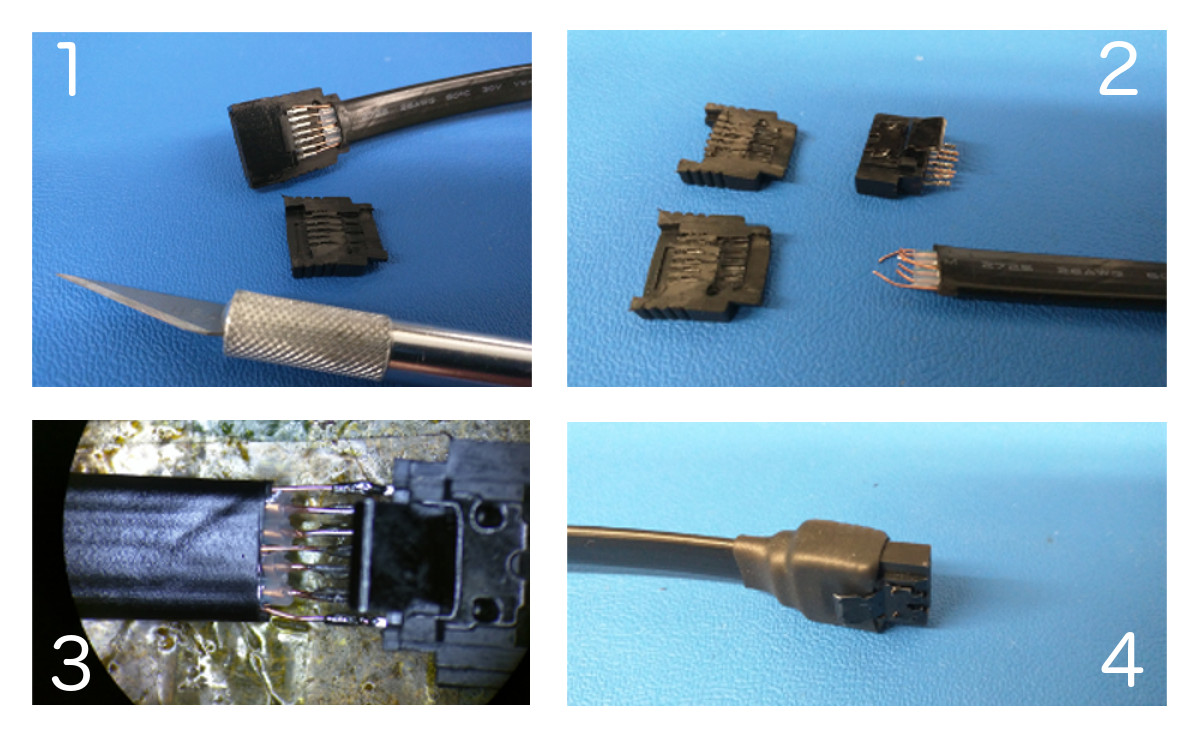
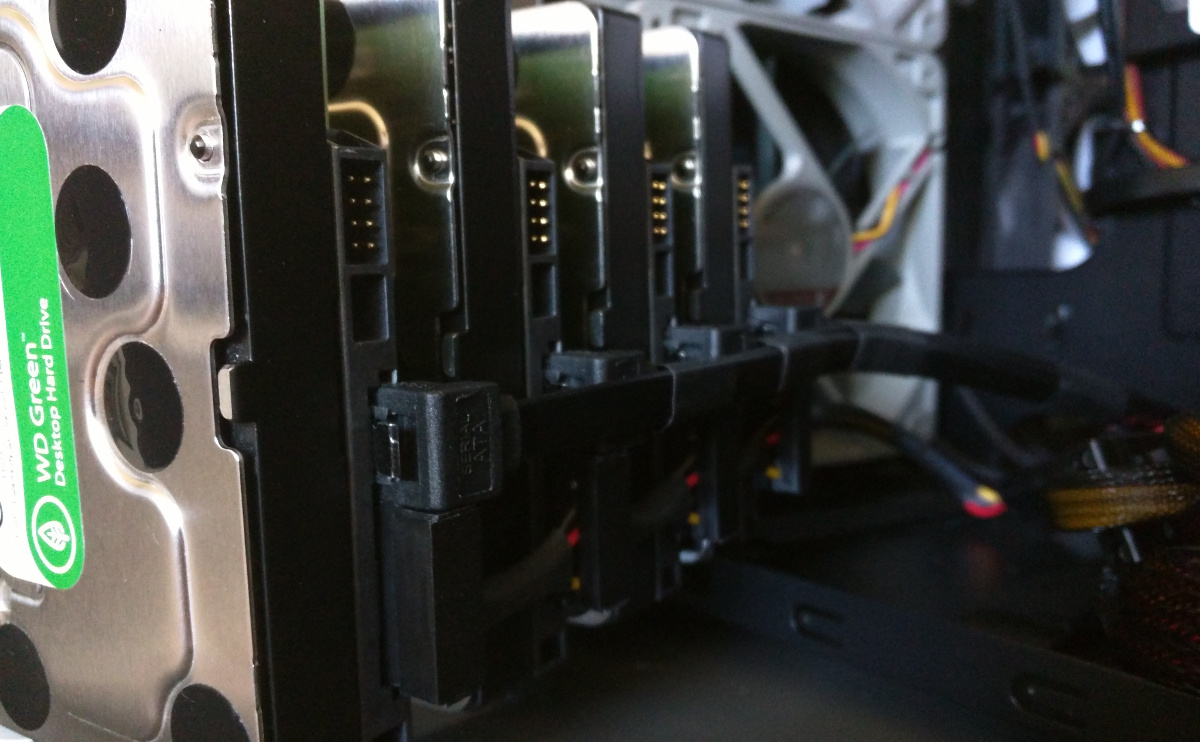
Cutting down the SATA data cables was a little more involved. First I plugged them all in to see how much they'd need to be staggered from each other.From there I cut them all at the same time. In order to attach the cut off end back, I followed a guide that was referenced by a lot of old PC modding forum posts. Unfortunately, this guide was published a long time ago and some of the links are dead while some load unreliably. I've condensed the steps heavily here. First cut off the rubber boot and save for later. Then cut off the wires. The outer wires are ground followed by two pairs of data lines. The inner wires are ground. Sometimes there will be two inner ground wires and sometimes there will be only one. Next strip the new end and solder the connector to the new wires. Be careful with orientation. Finally you can reassemble the boot and cover with heat shrink tube.
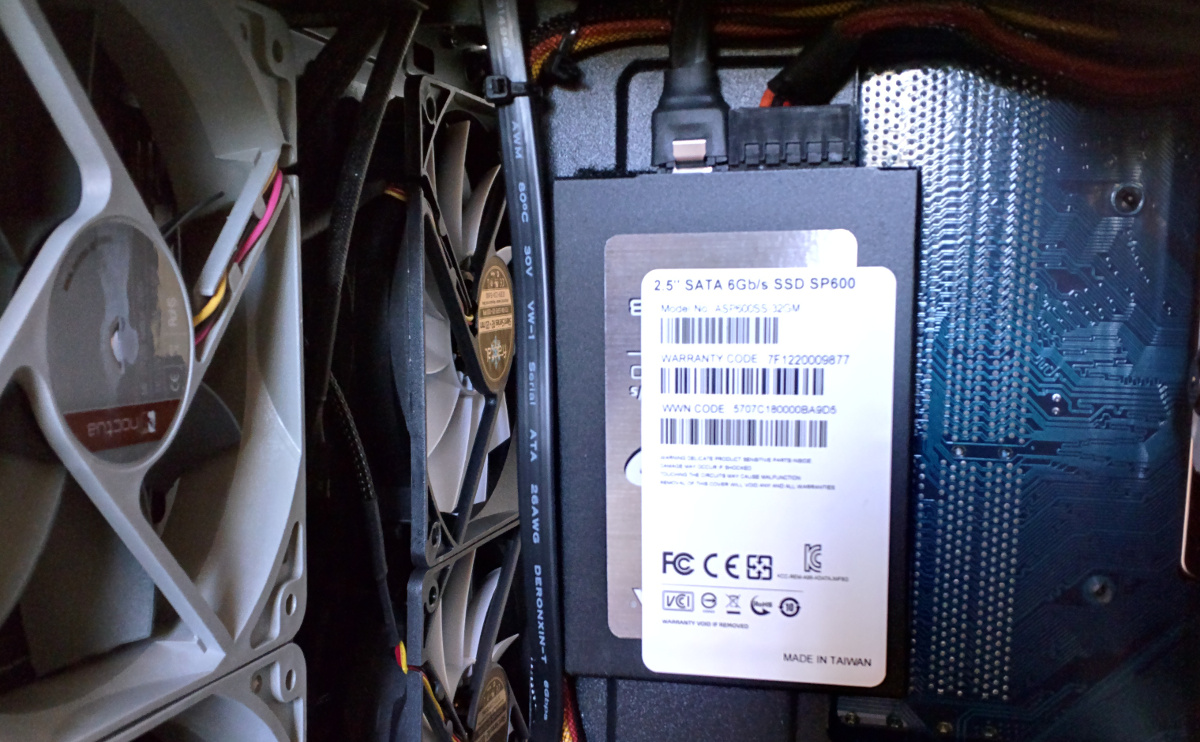
I decided to put the operating system on its own SSD, which I fixed to the motherboard tray with velcro tape. It's nicely hidden away when the hard drive cages are inserted.
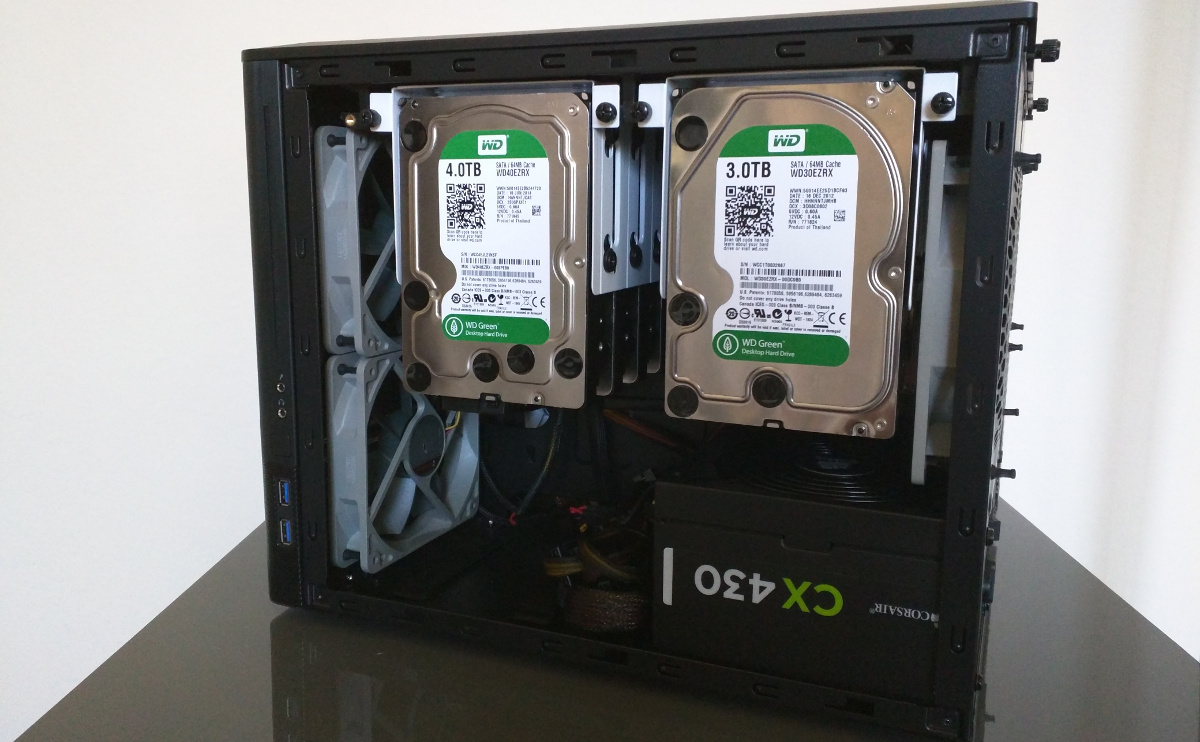
Here is the finished build. It's not the prettiest computer, but I tried to tuck away most of the cables. Even with 6 fans, this this was pretty silent. I wasn't able to hear it at all by the time I stashed it in the closet. I really liked using the Node 804 as a server case. It has very good options for mounting storage drives, however the cube design tends to bias weight to one side since that's where most of the heavy HDD's live. If anything it's awkward to pick up, but it's a closet PC anyway.
Mini Software Build Log
I didn't want to make this yet another run down of commands and explanations. That wouldn't be doing justice to all the well written resources I used. Instead, I'll try to condense things down to avoid repetition and provide relevant links.
I chose Arch Linux to power the server box, because it's pretty flexible and also very stripped down. Installing a dedicated OS rather than something like FreeNAS allowed me to do more than just maintain a storage array. I wanted to be able to process things in the background, such as file parsing and scheduled syncing with cloud backups. If you aren't familiar with Arch, installation is a breeze with the Arch Beginners' guide. When setting up the network, I used systemd-networkd with a dynamic IP address. I set up a hostname to avoid having trouble if the local IP was reassigned.
$ hostnamectl set-hostname myhostname
Edit the DHCP settings so that we use both IPv4 and IPv6. While you're at it, put the Google DNS for IPv4 and IPv6 and also the Level3 DNS as backup.
# /etc/systemd/network/MyDhcp.network

[Match]
Name=en*

[Network]
DHCP=yes
DNS=8.8.8.8
DNS=8.8.4.4
DNS=2001:4860:4860::8888
DNS=2001:4860:4860::8844
DNS=4.2.2.3
Follow the guide for partitioning and file system config. Don't forget to set up locale and the time zone. This is also a good time to install vim from the official repositories, because vi and nano suck. Don't forget to set up the bootloader.
It's probably a good idea to install the network time protocol daemon, especially since I plan on using NFS. Also I created a systemd service for turning on numlock at boot since it gets very annoying to turn it on again every time. While I was at it, I got ssh running. Since this was meant to be completely headless, ssh is handy. Now we're able to throw it in the closet!
I was interested in installing packages off AUR, so I chose to use pacaur for AUR package management. An important note to remember about building packages from AUR is that they can only be built by a non-root user. The first step is to create another user and give it sudo privlages. Now we can wget cower and pacaur off AUR. Look for the tarball link from a browser on an external computer. Use link shorteners to save you the trouble of typing in long URL's into wget. Now install cower:
$ tar zxvf cower.tzr.gz
$ cd cower
$ makepkg
$ sudo pacman -U cower*.pkg.tar.xz
Then install pacaur:
$ tar zxvf pacaur.tar.gz
$ cd pacaur
$ makepkg
$ sudo pacman -U pacaur*.pkg.tar.xz
Finally Arch is mostly set up, and we can get on to ZFS. I chose to use ZFS because it was pretty well documented and stable. The internet seems to be very vocal about their opinions of ZFS. I'm only using it for a home server, so I didn't give much weight to most concerns. I chose to use raidz2, so that I had a little more padding for drive failures. The Arch Wiki has a fantastic guide to setting up a ZFS pool. I recommend adding drives to the pool with their disk ID instead of device labels or anything else. You'll thank me when you're trying to figure out which drive failed, or if you swap around SATA ports.
I wanted to make automate drive maintenance, so I used systemd's timer unit to schedule a zpool scrub in the middle of the week. To do this I needed to create two files. The first one is the actual service unit.
# /etc/systemd/system/zfsScrub.service

[Unit]
Description=Scrub ZFS Pool
Requires=zfs.target
After=zfs.target

[Service]
Type=oneshot
ExecStartPre=-/usr/bin/zpool scrub -s sockdrawer
ExecStart=/usr/bin/zpool scrub sockdrawer
I also created the systemd timer unit.
# /etc/systemd/system/zfsScrub.timer

[Unit]
Description=Run ZFS scrub weekly

[Timer]
OnCalendar=Wed 2:35
Persistent=true

[Install]
WantedBy=timers.target
I also wanted to add S.M.A.R.T. monitoring support with smartctl and smartd. Scheduling self tests in the middle of a weekday night was pretty easy. To get an email notification about possible S.M.A.R.T. errors, setting up s-nail was required.
Setting up file aggregators/parsing tools, just get them off AUR. The extra steps are mostly the same for SABnzbd, Sickbeard, CouchPotato, Mylar, and Headphones. As an example, I edited the SABnzbd service file.
# /usr/lib/systemd/system/sabnzbd.service

...
[Service]
ExecStart=/opt/sabnzbd/SABnzbd.py -l0
User=root
Group=root
...
Also be sure to change ownership of the install directory:
chown -R root:root /opt/sabnzbd/
Lastly start and enable the sabnzbd service using systemctl.
To back up and sync files on cloud storage providers, I installed dropbox from AUR. When using a headless unit, there were only a couple extra steps to get it working. I also installed drive-git from AUR so that I could push and pull Google Drive files on a schedule. To automate this for a weekly sync, I went back to my old friend systemd for a timer and service unit.
# /etc/systemd/system/driveUpdate.service

[Unit]
Description=push updates to drive, then pull them

[Service]
Type=oneshot
ExecStart=/bin/bash -c "cd /mnt/cloudBackups/gdrive/; drive push -no-clobber -quiet; drive pull -quiet"
# /etc/systemd/system/driveUpdate.timer

[Unit]
Description=Run drive updater weekly

[Timer]
OnCalendar=Thu 2:35
Persistent=true

[Install]
WantedBy=timers.target
The last step in this build was to make my server accessible to multiple kodi clients. There's a lot of options for different protocols, but I felt like NFS offered the best performance benefits. NFS relies on ntp on both ends, so be sure to install it. Getting the rest of the database set up is pretty easy. After installing MariaDB from pacman, immediately initialize MySQL.
mysql_install_db --user=mysql --basedir=/usr --datadir=/var/lib/mysql
Important Note! Since we had to bind mount to a directory on ZFS, we can't use fstab. A zpool isn't ready until after fstab has read. Use a systemd mount unit to overcome this limitation.
I've been running the closet server for a couple weeks now without any problems. For the majority of it's uptime, it remains idle. Although the dual core Celeron processor isn't considered powerful, I'm excited to find things for it to do during the weekdays.